Inspection and Testing Solutions

Elevate quality control with our advanced expert inspection and testing services for reliable results.

value stack people icon

Decades of experience in a range of industries

AMS Cincinnati FDA Regulations Medical Device Manufacturing Automation

Proven processes for smooth delivery

value stack gears icon

Engineering and design expertise

Advanced Inspection and Testing Services: Ensuring Quality

When it comes to industrial manufacturing, there is no such thing as perfection. At some point, processes will experience upsets, products will have defects and expectations will be missed. For tenured manufacturing professionals especially, this is an inevitable fact of life; it is not a condition of “if,” but “when.” 

In many ways, the quality of manufactured products is a numbers game. The goal of the game is to simply catch issues before they make it into the wild. This is where the quality control practices of advanced inspection and testing come in.

Inspection and testing involve a set of engineering tools and processes that manufacturers employ to detect, isolate and resolve product concerns in order to protect customers, employees, brand reputation and public safety at large. 
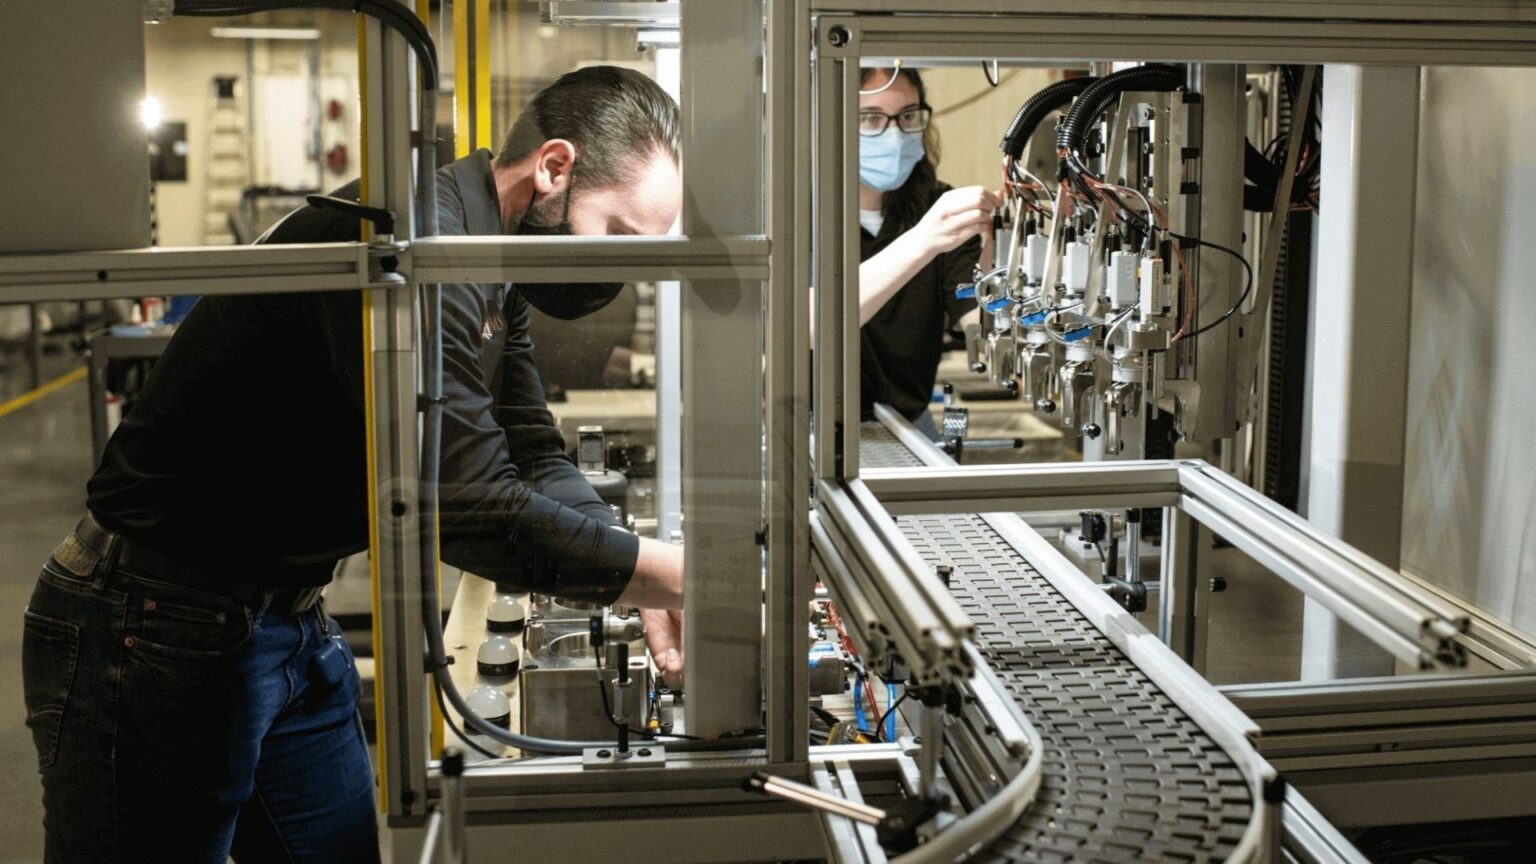
Inspection and Testing Services Automation - AMS

Inspection and Testing Practices in Industrial Manufacturing

Quality control in industrial manufacturing is a bit like managing a competitive sports team, balancing offensive and defensive strengths. In the QC world we start with defense, which describes the various inspection and testing methods used on products to catch flaws, defects and other concerns that would not be acceptable to customers.  

Over time, the defects caught can be compiled and analyzed, shedding light on upstream process deficiencies that lead to rejected products to begin with. This is where QC managers switch to offense, turning their findings into actionable improvements to be disseminated throughout the business, most often in the form of process upgrades, operator training and design revisions. 

This analogy lets us clearly see the role that QC defense plays in an organization, and how the outcomes of this defense can be used to drive overall improvements.

With this in mind, let's better define the specific QC practices of inspection and testing: 

  • Product inspection involves technical examination of a sample product against its original design specifications, performance requirements and subjective expectations (such as appearance and feel). Again, inspections are technical and can utilize any number of instruments to conduct their assessments of features such as weight, color, gloss, reflectivity, dimensions and completeness.
  • Product testing goes a step beyond inspection, product testing involves physical verification of key technical attributes and functionality. For example with an automobile entertainment console, testing can involve powering up the unit and checking each independent feature through actual use. For electronic relays, testing may subject the relay to millions of circuit switches, ensuring that it lasts up to its stated cycle limit.

Setting the Bar: Standards for Product QC

We mentioned above that inspection and testing practices are equivalent to playing a numbers game, and we do mean that literally. QC practices are nothing if not an exercise in mathematics, mainly statistics and a little calculus. How so? Here's an example to explain the concept:

  • For every 100 products manufactured, 2 to 6 percent defects have been historically discovered.
  • As such, 25 percent of all new products will be randomly sampled and inspected.
  • If two or fewer defects are found in this sample, the entire lot will be approved for sale.
  • If three or more defects are found in this sample, the entire lot will be rejected and reworked.

This example is a sample quality control inspection specification calculated using ISO 2859-1 AQL (acceptable quality limits) standards. Such technical specifications use statistics to weigh the cost and impact of performing inspections against the chance that bad units will go undetected. 

In a perfect world where cost was no object, every produced unit would be inspected to ensure suitability, but this is not practical at industrial manufacturing scales. So, statistical process control (SPC) specifications such as the above take precedence.  

While our example above refers to inspection, this same concept applies to testing as well. Because of the added risk involved with products that require testing, the statistical parameters of testing practices will naturally be tighter, calling for higher levels of sampling and testing. 

To help guide manufacturers to the correct inspection and testing parameters, multiple third-party entities publish guidance documents, industry standards and statistical models as reference materials (or in some cases, regulatory requirements). ISO, ANSI, ASTM, FDA and ASME are just a few examples of agencies that issue relevant standards.  

The Many Methods of Product Inspection and Testing

In so many words, inspection is “look and see,” whereas testing is “physically prove it.” Product testing can be further categorized as destructive testing (DT) where the product is physically damaged by the test, or non-destructive testing (NDT) where the product's integrity is not compromised during the test.  

Different industries and product functions call for varying levels of inspection and testing examinations, each selected to appropriately weigh the risk of errors making it out the door vs the cost and complexity of performing the evaluation. This balancing act is what drives the sheer diversity of quality control methods in use today, which we'll demonstrate through examples below.   

Examples of Product Inspection

  • Cursory visual inspection
  • X-ray inspection
  • Packaging checks
  • Dimensional inspections
  • Label and marking verification
  • Dye penetrant inspection
  • Sub-component sample inspections (in-situ)
  • Production documentation and parameter verifications

Examples of Product Testing

  • Physical sample extraction and composition testing (DT)
  • Impact testing (DT)
  • Fatigue testing (DT)
  • Vibration testing (DT)
  • Thermal testing (DT)
  • Safety testing (NDT/DT)
  • Induced failure testing (DT)
  • Leak Testing (NDT)

Automating Product Quality Control Processes

The sheer scale of quality inspection and testing practices may seem overwhelming, but thankfully, automation gives us ways to consolidate and integrate QC processes directly into a manufacturer's production scheme. At their core, quality inspections are a manual human activity requiring individual, time-consuming sensory evaluations of a product. Physical tests are even more labor intensive.  

Automation helps replace the labor, sensory and judgment components of these practices with sophisticated mechanized systems, advanced instrumentation and PLC-controlled processes to deliver the following benefits: 

Improved Test Reliability

Eliminates “false positives” and introduces industrial controls to make tests more resilient, repeatable and consistent.

Bolstered Product Quality

Using automated safety checks and inspection tools built into the test machine assures that the test subject is ready for the test, and avoids time lost to tests that are bound to fail.

Removal of Human Error

By automating handling, positioning, testing, results recording and pass/fail determination, operators are freed up to perform other tasks.

Reinforced Paper Trail

Automatically and safely capture digital records of test results that can be used for customer service, regulatory compliance, audit response and internal continuous improvement needs.

In particular, AMS' own automated testing systems serve many industrial manufacturers with inline automated and semi-automated inspection, testing and verification processes. For example, AMS' LT-401 Leak Test Machine offers feature-rich test procedures for high volume, fast cycle time, safe and repeatable non-destructive leak testing.  

Our systems are configured complete with custom actuated fixtures matching your products, high-accuracy sensors, poka-yoke safety devices and PLC-driven test sequences spanning all available test methods. Even better, our leak test equipment and other testing systems include internal data archiving, writing test results to record so that regulatory and insurance compliance documentation is automatically generated.  

Play Video
Play Video
Play Video

Quality Control as One Big Feedback Loop

While we’ve focused on the defensive nature of quality control, let's return to the offensive side we introduced earlier. All of the above statistical process control methods we've outlined are tied together by a common thread; that is, all of the results obtained through inspection and testing should be used to improve the production process so that over time, the amount of rejects decreases.  

Now playing offense, quality managers use inspection and testing outcomes as feedback into a separate workflow known as continuous process improvement, driving tactical actions that improve machinery, train up employees, swap out underperforming materials and overall tune up the entire manufacturing operation. In this way, quality control is really one big feedback loop, and inspection and testing practices are just one of many spokes in the wheel. 

Discover why many manufacturers choose to automate their quality control practices, so that they can sprint towards better results faster, and with greater confidence of success. If you have questions about inspection and testing of assemblies, contact us today.        
Surefire Automation Plan

  • Share your automation goals with one of our application engineers.
  • We’ll guide you through our proven process.
  • Sit back and enjoy the outstanding results.